
Roles
"Roles" are the permissions assigned to users within the platform. In the following section, you can learn how to manage them..
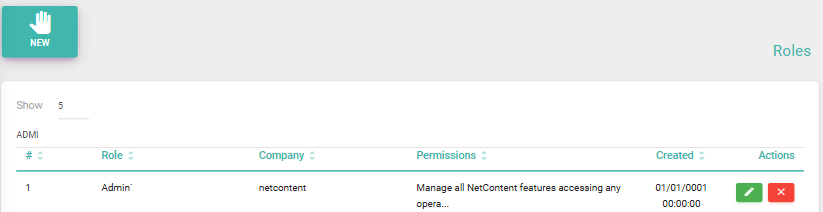
The parameters visible on the main "Roles" screen are:
- #: Indicates the role number.
- Role: Name of the role.
- Company
- Permissions
- Creation: Date of registration.
- Actions: Edit and delete buttons for each corresponding row.
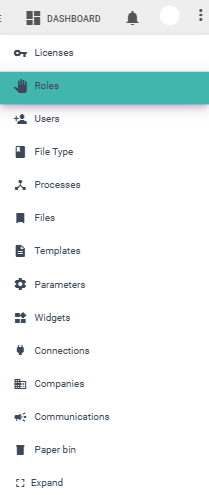
Below is an image of the "Roles" menu:
Creating a New Role
Creating a new role involves two steps.
The first step is to create the role by filling in the following fields: name, company, and description. The second step is to enable the necessary actions and widgets. If you want to grant higher credentials, you must first assign the viewing permission.
Step 1
To create a new role, click on "New" and fill in the fields: name, company, and description. Press the "Save" button and select "Yes" to confirm the changes, or "No" to go back.

Step 2
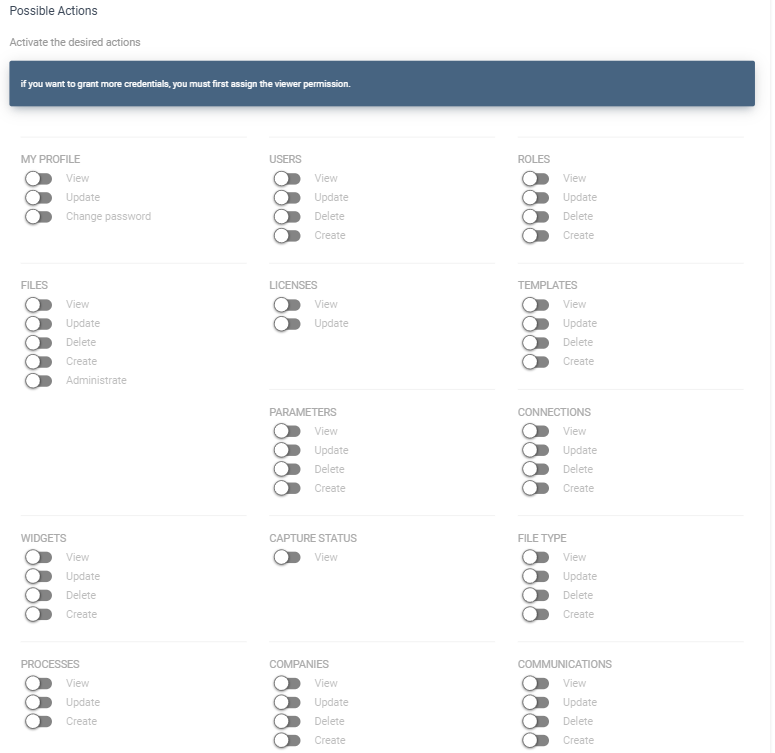
To add the necessary actions and widgets, select the role and click on the following icon in the actions column.
Choose the permissions for access to the following sections: profile, users, roles, records, licenses, templates, parameters, connections, widgets, capture status, document types, and processes.
Permissions can include: view, update, delete, and create, depending on each section.
Available Actions and Widgets
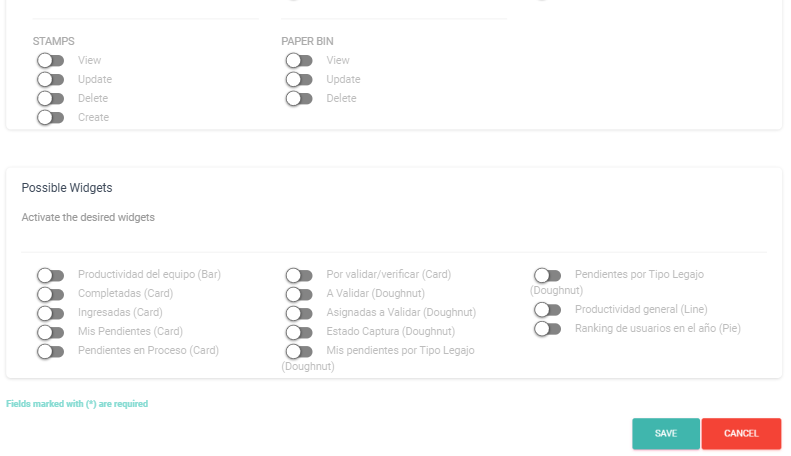
Widgets are fully customizable and configurable. The image below shows examples of some widgets that can be set up. For more information about widgets, click here.
Created with the Personal Edition of HelpNDoc: Free HTML Help documentation generator