
Users
The "Users" section provides a detailed description of each individual who has access to the platform.
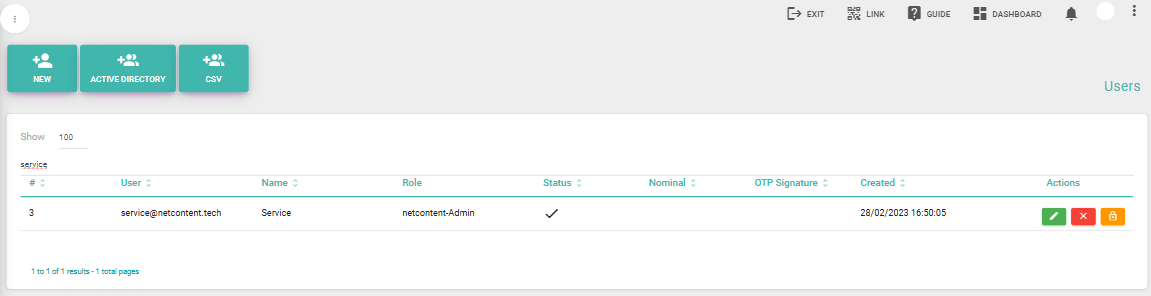
The parameters visible on the main "Users" screen are:
- #: Indicates the user number.
- User: The user's email address.
- Name: The user's name.
- Role: The user's permission role..
- Status
 Disabeled,
  email not validate,
  activated
 - Actions Buttons:
 edit
edit  Deactivate
  Log out, for each corresponding row..
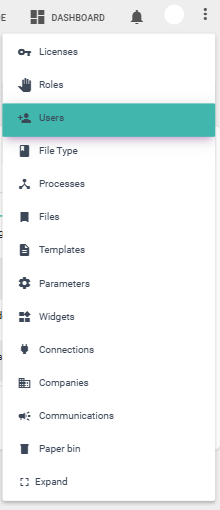
Below is an image of the "Users" menu:
Create a new User
There are three ways to create users: using the "Create User" button, through bulk import via Active Directory, or by using a CSV file. Each method is detailed below:
New User
To create a new user, click on "New" and fill in the fields: user, first name, last name, role, address, postal code, country, province, city, and description. Press the "Save" button and select "Yes" to confirm the changes; otherwise, select "No" to go back.

 Notes:
- Fields marked with an asterisk (*) are mandatory.
- After completing the fields, the system will send a validation email. Alternatively, the administrator can click the "Edit" icon and press the "Validate" button.
- To create an Active Directory user, check the box labeled "Active Directory." You will then need to complete the required fields: Active Directory username (Windows user) and the associated email.
- To create a user with a nominal license, check the corresponding box. If this option is not selected, the user will use a concurrent license (make sure to validate the license type and available users).
- If the user needs to sign using only OTP, activate the respective checkbox. The system will display a text field where you can specify the validity time (in minutes) for each generated code.
How to import Users
Netcontent allows for bulk user imports, offering two methods to achieve this.
In both cases, the system verifies that the imported users do not already exist to avoid duplicate entries.
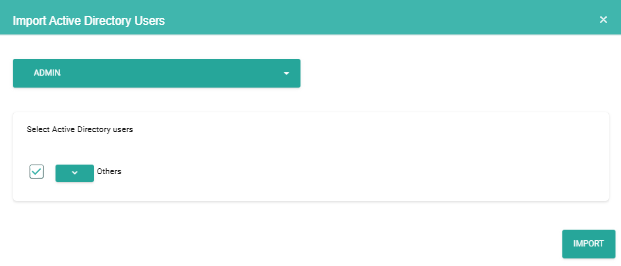
Active Directory: Select the role, choose the users, and press the "Import" button.
 Note:
Note:
For LDAP, you need to configure the path to the Active Directory server in the Web.config file: <add key="ServerLDAP" value="LDAP://ldap.forumsys.com:389"/>.
CSV
Step 1:
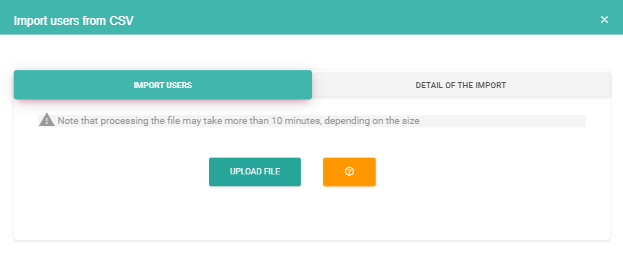
In the first tab, "Import File," click the "Upload File" button and select a file with the .CSV extension
Select the following icon.  to download the template needed for a correct import. This template contains the columns "Email;First Name;Last Name;ADUser;Password;Role" and each user’s information must be organized accordingly.
 Note:
Note:
Please note that processing the file may take more than 10 minutes, depending on its size.
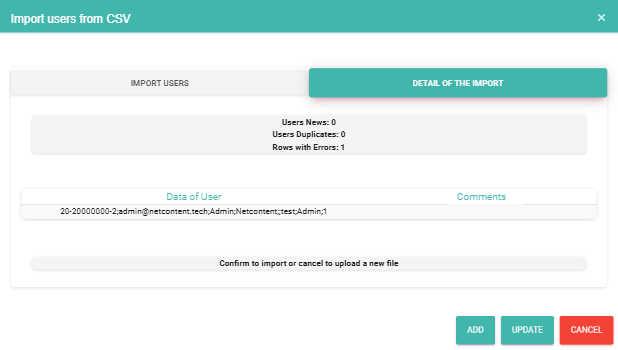
Step 2:
After uploading the file, the second tab will display the import details: new users, duplicates, rows with errors, and a grid showing user data and comments. Click "Add" to import the users, "Replace" to overwrite existing ones, or "Cancel" to exit.
How to Edit Users
Select the user you want to edit, modify the fields, and click the "Save" button. Press "Yes" to confirm the changes, or select "No" to go back.
 Note:
Note:
Please note that by entering the edit option you can also "Activate user" and press "Save".
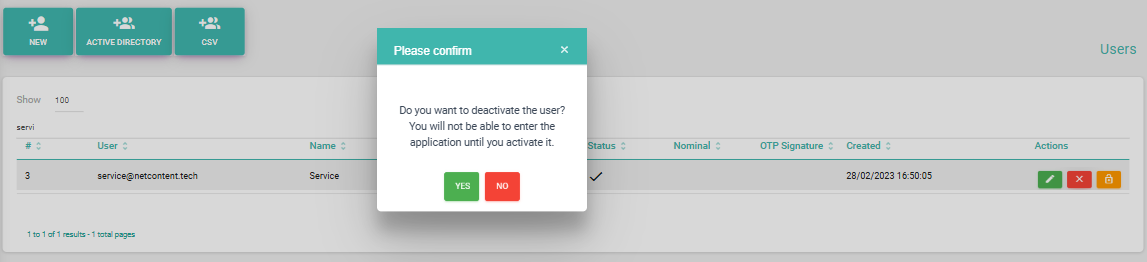
How to deactivate Users
Select the user you want to deactivate and click the red button with a cross. Choose "Yes" to confirm the changes or "No" to go back. The user will no longer be able to access the application until they are reactivated. To reactivate the user, click the "Edit" button and then "Activate User."
 Note:
Note:
Users on the platform are not deleted; they are deactivated, which prevents their access. If you are going to deactivate a user marked as Nominal, make sure to uncheck the corresponding option beforehand.
Created with the Personal Edition of HelpNDoc: Effortlessly Publish Your Word Document as an eBook