
Installation Procedure
Step 1:
Click on the "netcontent-setup" installer icon or right-click and select "Install."
 Note:
Note:
Some programs that ran without issue on previous versions of Windows may encounter difficulties on the latest version. If this is your case, apply the recommended compatibility settings to the program by following these steps:
Right-click on the program you want to run and select "Troubleshoot compatibility." Next, in the "Select a troubleshooting option" window, click on "Try recommended settings." Now click on "Start the program" and then "Next." If the program runs correctly, click on "Yes, save these settings for this program," and in the next window, click "Close" to finish.
For more information, go to https://support.microsoft.com/.
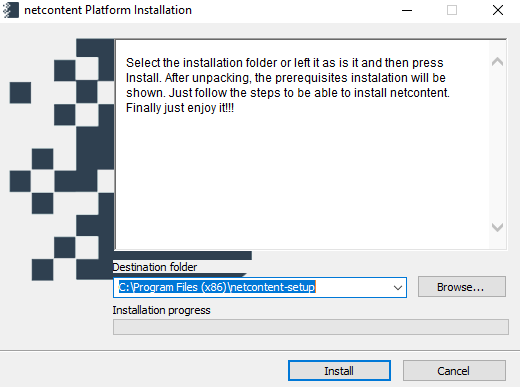
Step 2:
Next, select the destination folder where Netcontent will be installed. By default, it will be saved in the path C:\Program Files (x86)\netcontent-setup. If you want to change the path, click on "Browse" and then select a different folder. Click "OK" and then "Install."
The installation process will begin, and the minimum requirements mentioned earlier will be verified.
 Nota:
Nota:
You need to have administrator privileges to install Netcontent products. If you do not have administrator rights on the machine where you want to install Netcontent, please contact your network administrator.
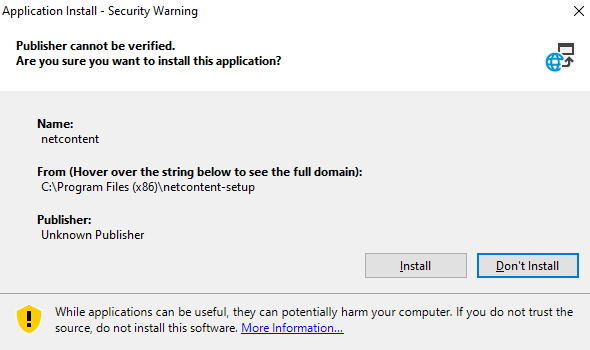
Step 3:
Now click "Install" on the application that is recommended for installation.
Step 4:
A window (Netcontent Prerequisites Setup) appears, prompting you to install the required and optional programs. The buttons for each component will be enabled if they are not already installed.
For more information about installing components that are not installed, hover the cursor over each button.
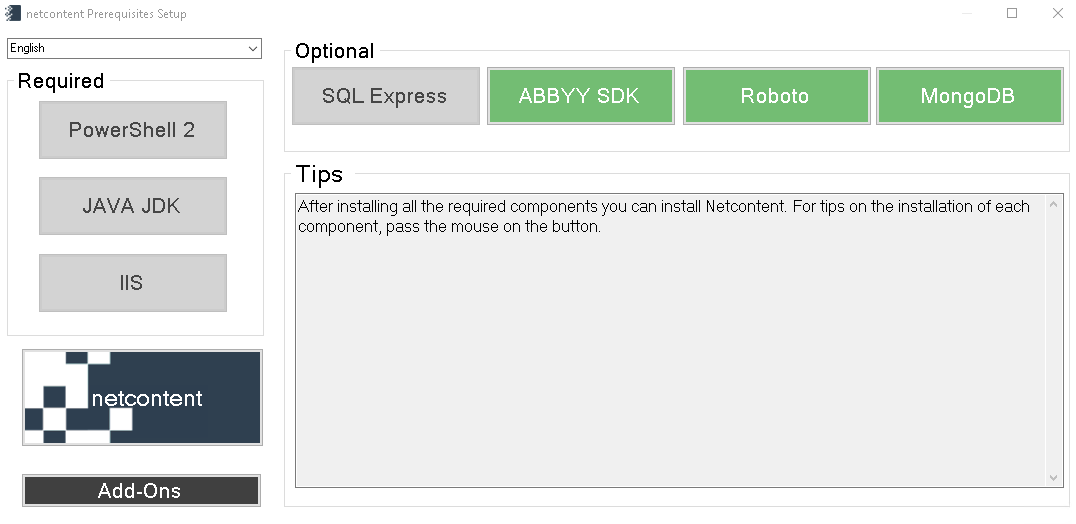
The steps to install each required program are listed below. If you already have them installed, you can skip this step:
- CORRETTO 21
Install Corretto 21 (or higher) in the environment where you are installing Netcontent. If you do not have Corretto 21, you can download it from the official Amazon website or the official GitHub repository.

Download the file amazon-corretto-21.X.X.X.X-windows-x64.msi, run it, and install it by following the standard steps of the setup.
Note:
The installation of Corretto replaces the installation of Java JDK.

After the installation, verify that the following system environment variables have been created:
- System variable "JAVA_HOME" with the installation path (e.g., C:\Program Files\Amazon Corretto\jdk21.0.3_9)
- System variable Path, with the path %JAVA_HOME%\bin
If these variables were not created automatically during the installation, follow these steps:
- Click on "Search" in Windows and select "Control Panel."
- Then, go to "Advanced system settings" and select "Environment Variables."
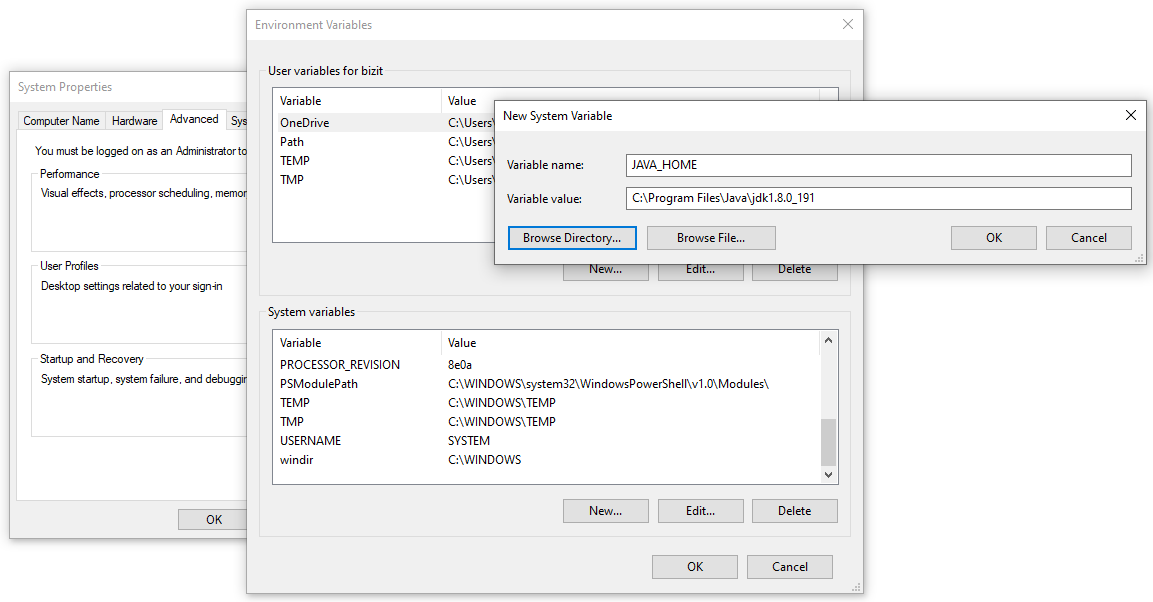
- In the "System variables" section, find the environment variable JAVA_HOME and select it. Click "Edit."
- If the JAVA_HOME environment variable does not exist, click "New."
- In the "Edit System Variable" (or "New System Variable") window, specify the value of the JAVA_HOME environment variable with the Corretto installation path.
- Click "OK."
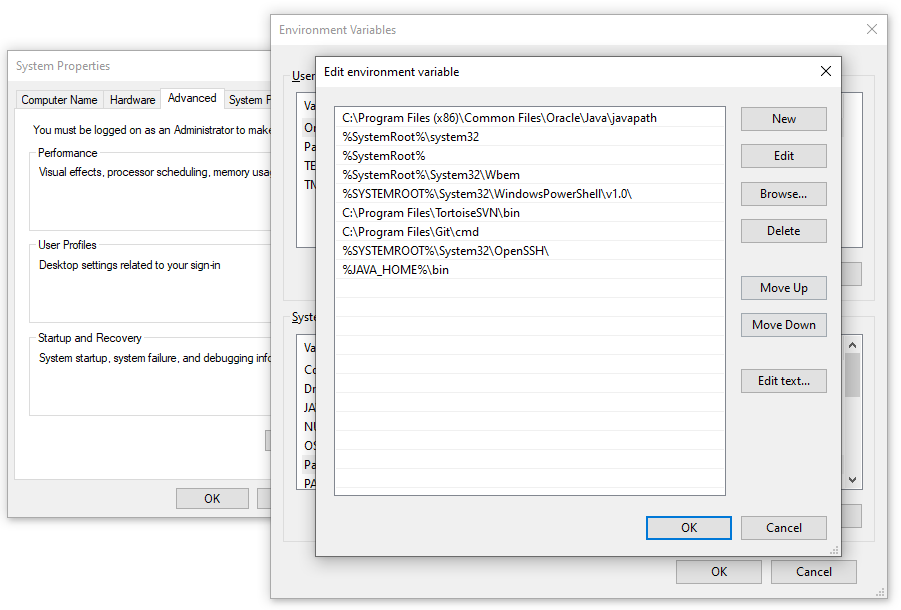
Add the value "%JAVA_HOME%/bin" to the Path variable.
Find the Path variable and click on "Edit." In the "Edit System Variable" (or "New System Variable") window, specify the value of the PATH environment variable. Click "OK." Close all other windows by selecting "OK."
In CMD, verify that Java has been installed correctly.

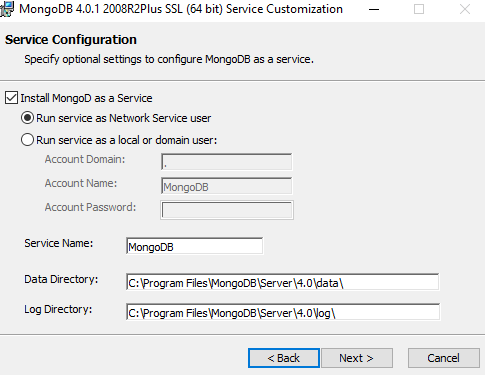
2. MongoDB
Once the file mongodb-win32-x86_64-2008plus-ssl-4.0.1-signed.msi is downloaded,
select the default installation.
Open the file mongodb-win32-x86_64-2008plus-ssl-4.0.1-signed and click "Next."
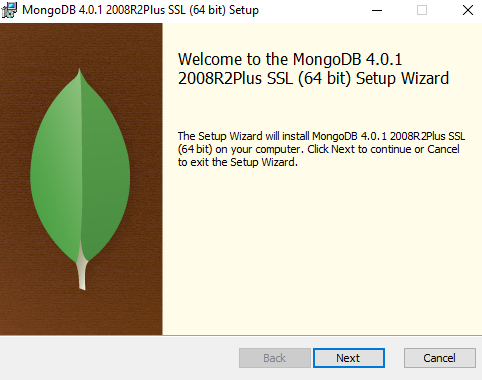
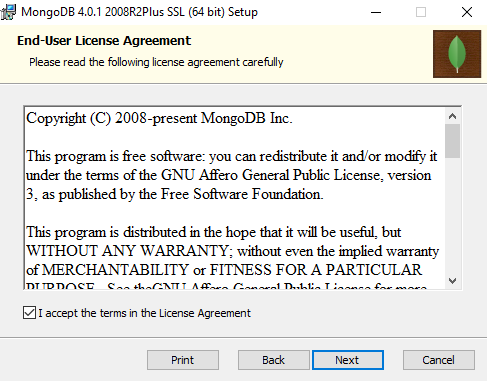
In the "Setup" window, click "Next."
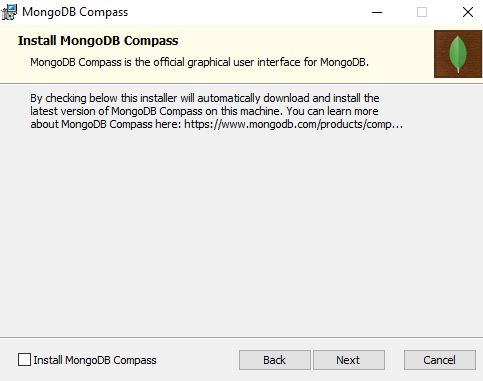
Uncheck the "Compass" installation option. Click "Next" to continue, then select "Install" and finally "Finish."
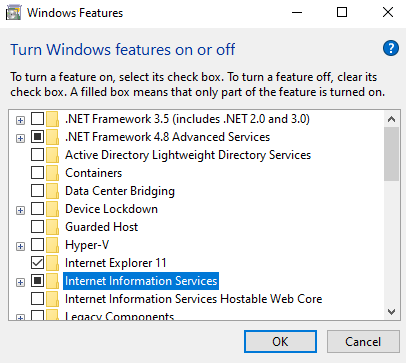
3. IIS
Go to "Turn Windows features on or off." Select "Internet Information Services."
Expand Internet Information Services -> World Wide Web Services -> Application Development Features. Then, select ASP.NET.
Depending on the Windows version, it may appear with the version number. In that case, select at least ASP.NET 3.5.
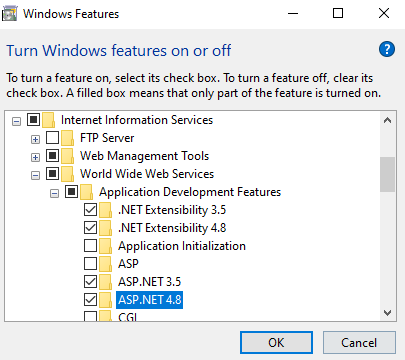
Select "OK."
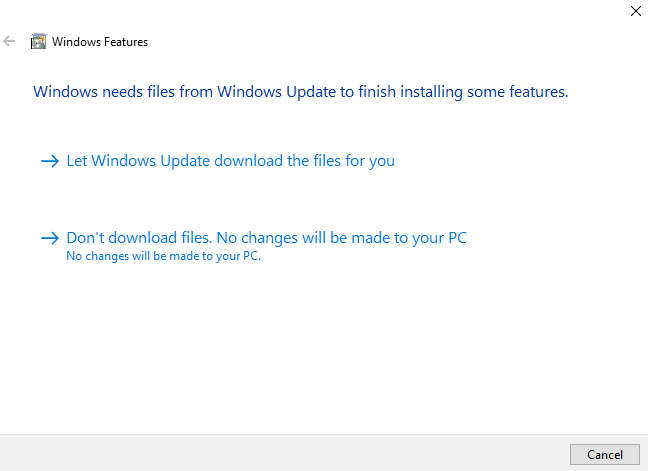
The operating system requires files from Windows Update to complete some features. Click "Let Windows Update download the files for you." Wait for the files to be installed and the changes to be applied. Finally, click "OK."

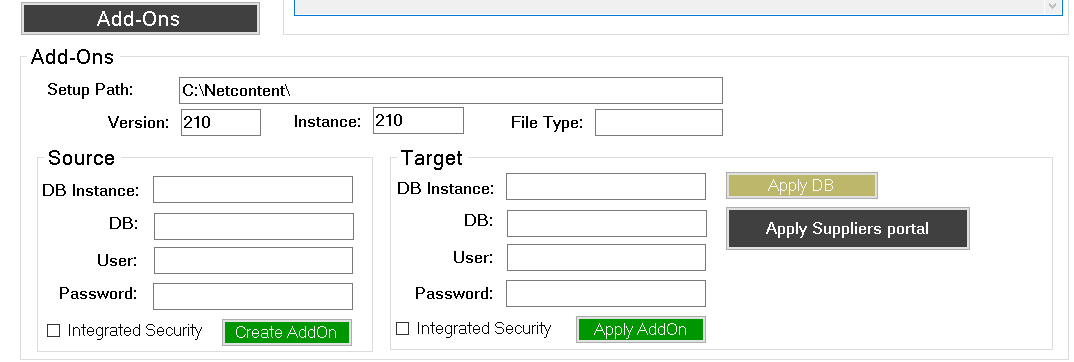
Optional: Click the "Add-Ons" button to import existing records into this installation instance.
Step 5:
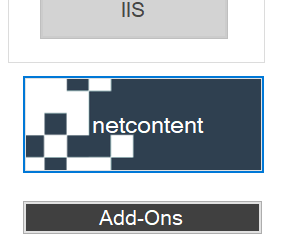
Click the Netcontent button to start the installation.
Step 6
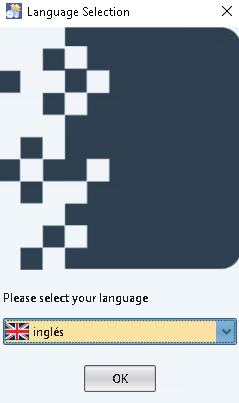
Select your preferred language. Click the "OK" button to proceed to the welcome screen.
Step 7
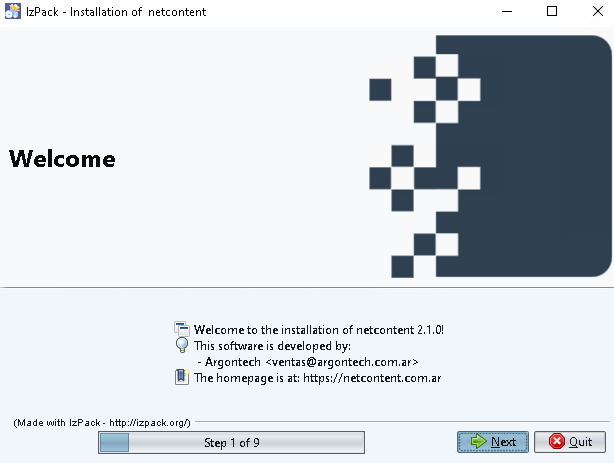
In the welcome window, select "Next."
Step 8:
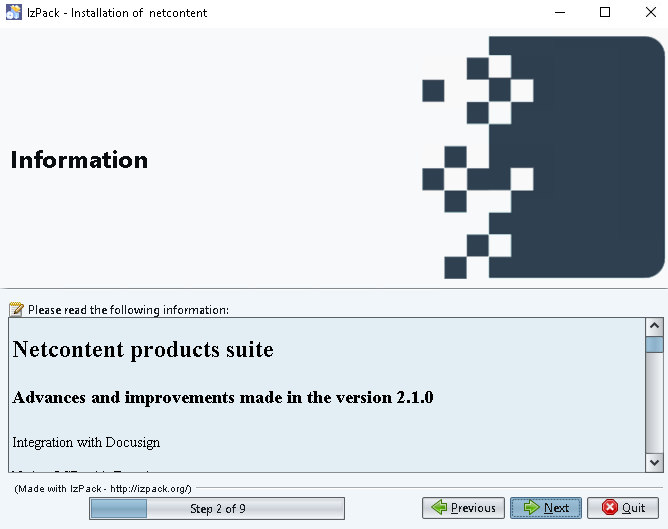
On the welcome screen, you can view the version improvements, installation requirements, and important notes regarding the administrator user. Read carefully and then press "Next."
Step 9:
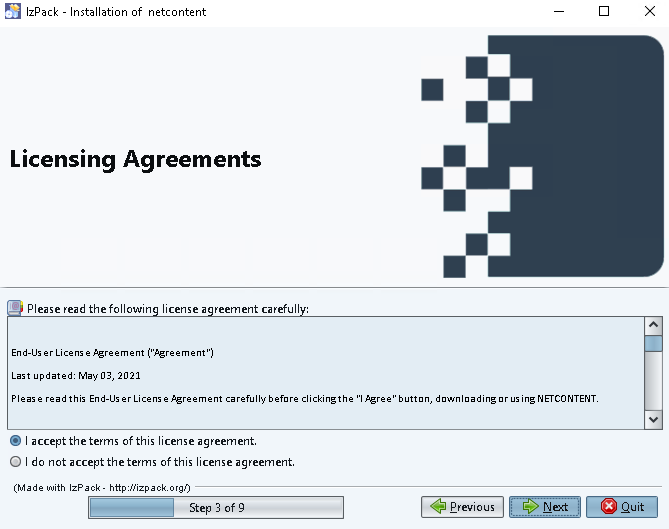
Next, read the terms and conditions. Select "I accept the terms of this license" and click "Next."
Step 10:
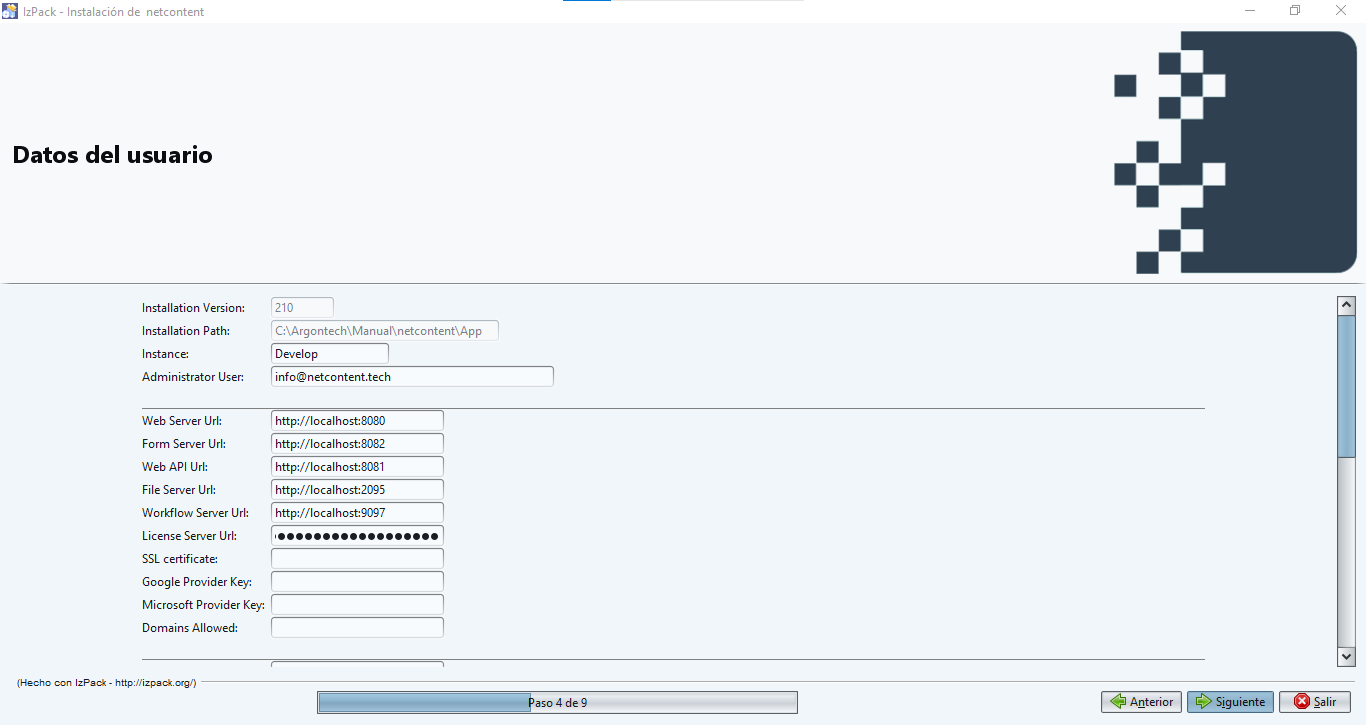
The user data window is displayed for completion with the following information:
- Instance: Enter the name of the instance you are installing or leave the default value.
- Administrator User: Enter the administrator user's email. After the first installation, you can access it with the administrator user selected during the installation and the password four4TWO (including the period at the end). It is advised to change the password after verifying that Netcontent is working correctly. If you encounter any issues, please contact your provider.
- Web Server URL: The platform access URL. It is recommended to install it as HTTPS with a preferred web domain.
- Form Server URL: The URL of the service responsible for form loading/creation. It is recommended to install it as HTTPS with a preferred web domain.
- Web API URL: The URL for loading the Netcontent API. It is recommended to install it as HTTPS with a preferred web domain.
- File Server URL: The URL of the service responsible for file/attachment uploads to the records. It is recommended to use the default value as localhost.
- License Server URL: The URL for validating Netcontent licenses (SLIC). Do not modify the SLIC URL.
- SSL Certificate: The name of the SSL certificate hosted in IIS (Internet Information Services). Netcontent will be installed as HTTPS using this certificate in IIS bindings.
- Google Provider Key: Used to link accounts and enable login with Google Single Sign-On.
- Microsoft Provider Key: Used to link accounts and enable login with Microsoft Single Sign-On.
- Domains Allowed: Any domain outside the allowed ones will not be able to register on the platform as a user.
- SMTP Host: The URL of the SMTP mail server. It will be used for sending alerts (user creation, internal alerts, approvals, etc.).
- SMTP Port: Port for the SMTP server (e.g., 587, 25, etc.).
- SSL: Check this option if the connection requires SSL.
- SMTP User: The username for the SMTP mailbox, typically the mailbox itself (e.g., example@example.com).
- SMTP Password: The password for the SMTP mailbox.
- File Directory: The Windows directory where the attachments of the records created on the platform will be stored.
- DB Host: The name of the SQL database instance.
- DB Name: The name of the database to be created for the platform (e.g., Netcontent).
- DB User: The database connection user.
- DB Password: The password for the database connection user.
- MongoDB: The name of the MongoDB database against which Netcontent will authenticate.
- MongoDB User: The username for the MongoDB database from the previous step.
- MongoDB Password: The password for the MongoDB database user.
Note:
 The compny's IT team will provide you with the database information, username, password, web server URL, SMTP, etc.

Note:
You may see the following window if the directory is not created; press "OK."

Step 11:
After pressing "Next," you will see the "Destination Path" screen. Select "Next" to continue.
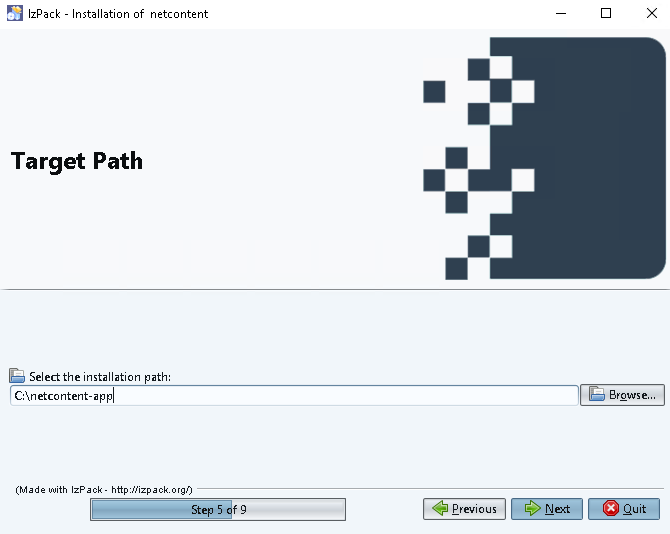
 Note:
Note:
If the directory is not created, it will be generated. If exist, possibly overwrite existing files. Then, press "OK."

Step 12:
Select all the installation and tracking packages. Then, choose "Next."

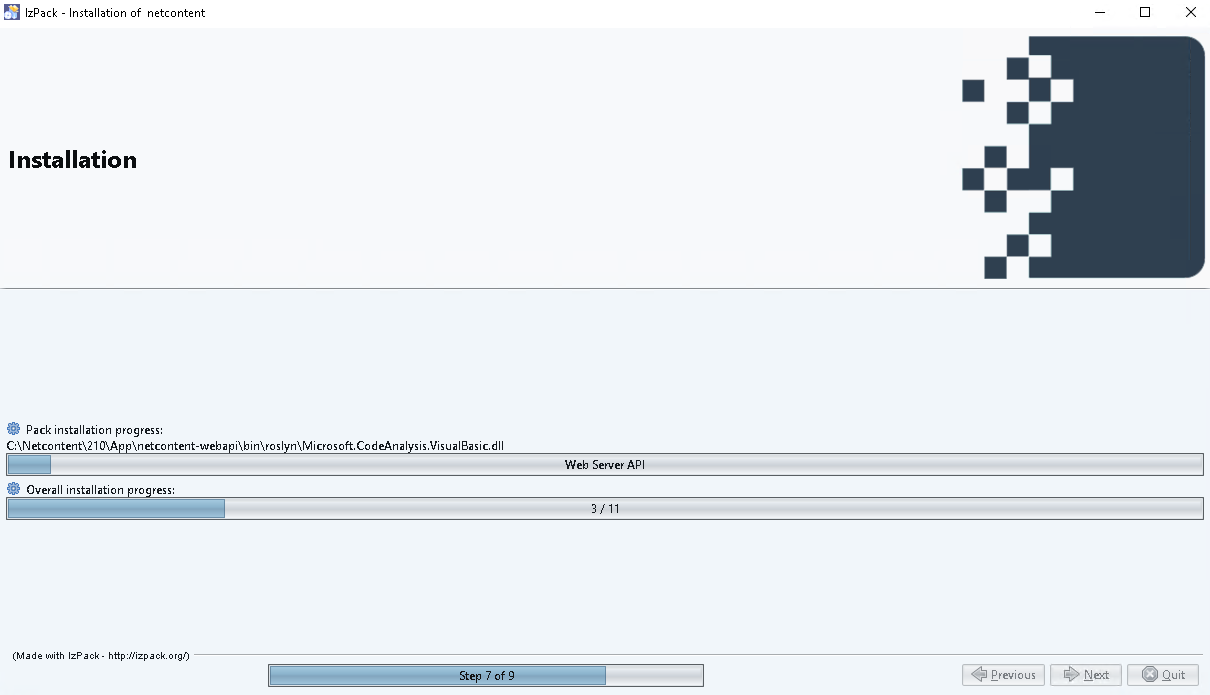
Step 13:
The following window. Finally, press "Next."
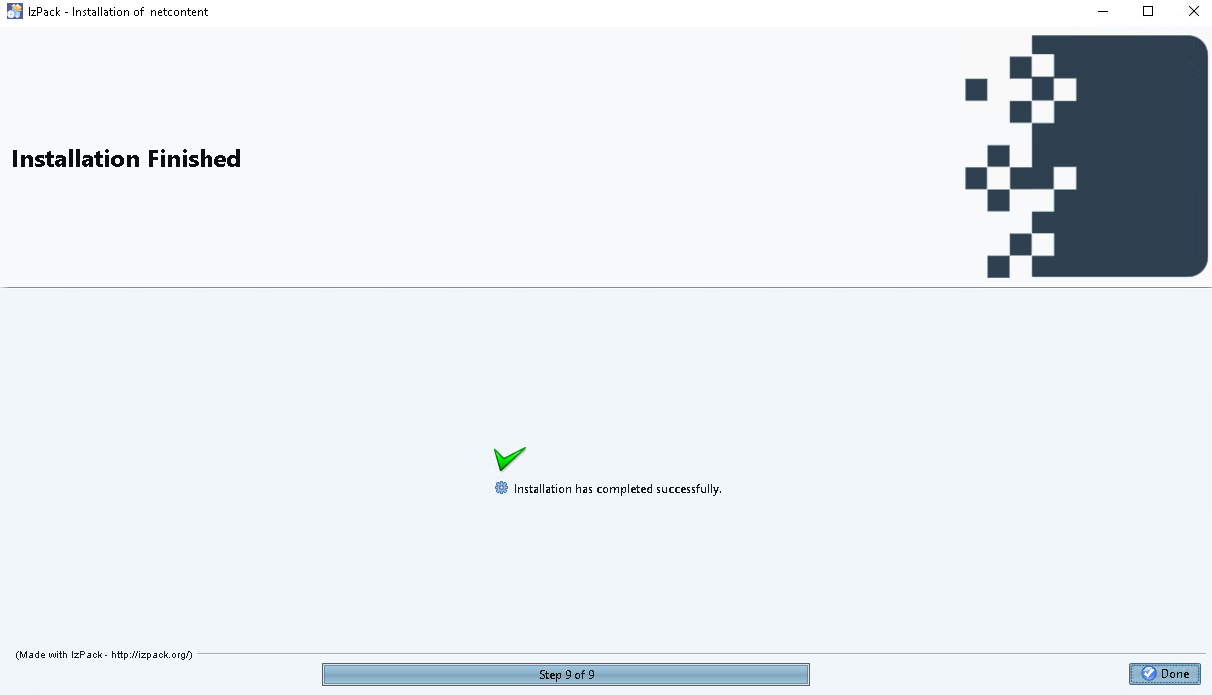
Step 14:
Once you see the installation result, press the "Done" button.
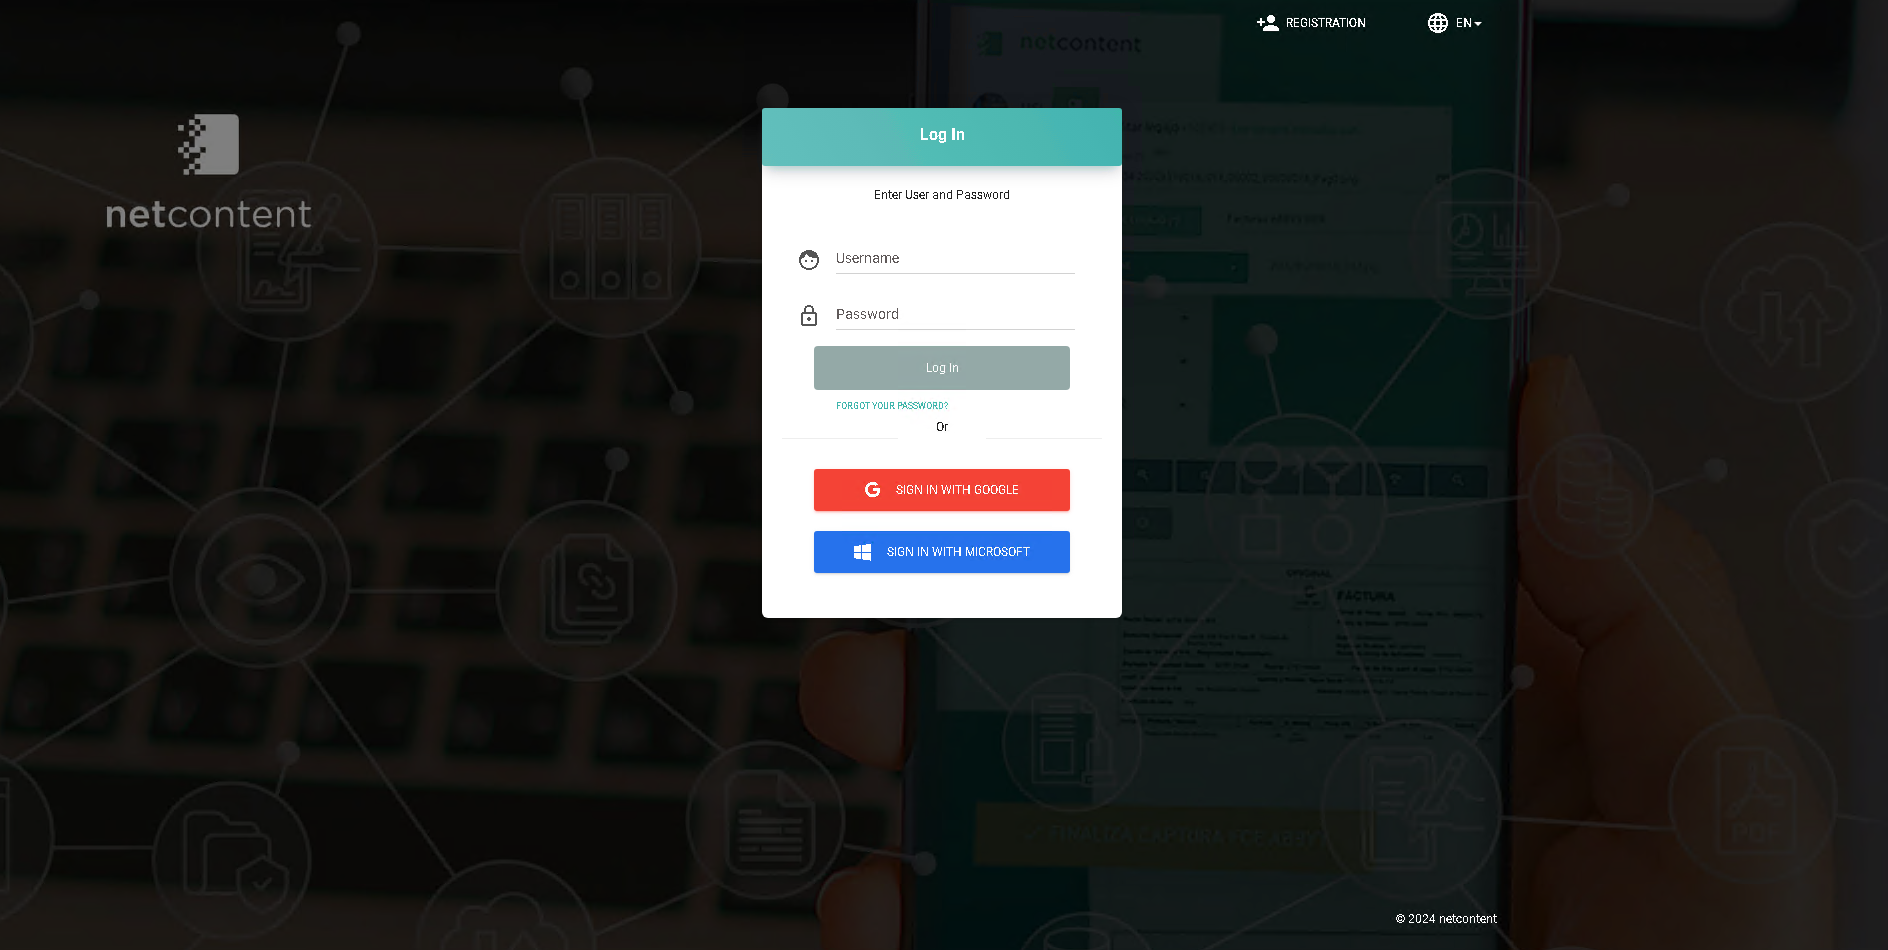
Step 15:
Open a web browser and enter https://localhost.com:8080 or the address defined during the installation in the address bar. Finally, press the "Search" button or the "Enter" key.
How to Install Netcontent
How to Configure Mongo DB
Created with the Personal Edition of HelpNDoc: Easily share your documentation with the world through a beautiful website