
Document Signing with Token
Signature via Token
Google Chrome Extension: Installation Manual
ncSigner
It is an extension or plugin for the Google Chrome browser that allows you to sign documents within the Netcontent platform.
Although the Google Chrome browser works on all major platforms (Windows, Mac and Linux), ncSigner requires a native application. This application is available for Windows.
It is necessary to indicate that ncSigner is for exclusive use within the Netcontent platform.
Install from the Chrome Web Store
To install the extension from the Chrome Web Store, you need to have the installation link, since this extension, although it is public, is only accessible to entities that have the access link:
https://chrome.google.com/webstore/detail/ncsigner-firma-de-documen/knhhihgbpplngnihbfednbeolbdifjgj
In the Chrome Web Store, select "Add to Chrome".
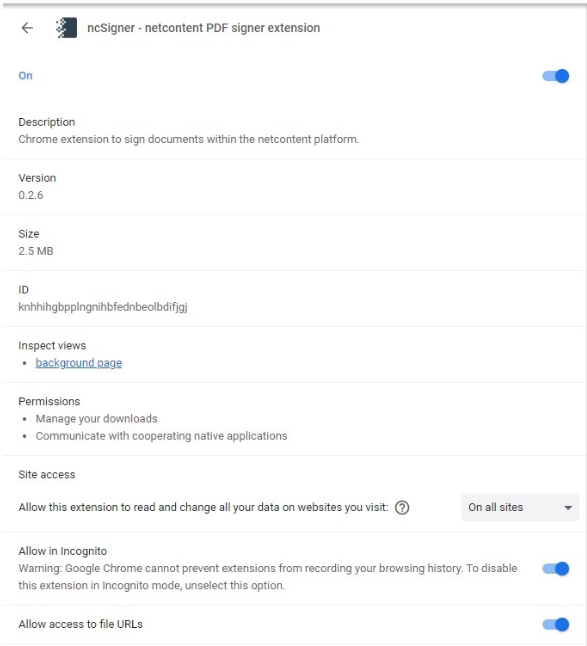
Once the extension is installed in the browser, you can see the access icon in the extension bar of Google Chrome:

When the extension is disabled, the icon is gray. Rather, a defined color is displayed when it can be used (when you are on the Netcontent platform).
To use the extension, you must open the Netcontent platform in your browser.
Options
Once inside Netcontent, you can see that the extension is enabled. At this point it is important to note that the extension works according to the Netcontent context/screen where it is located.
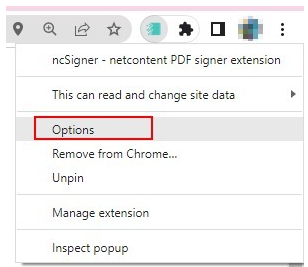
To enter the extension's settings, right-click on the icon and select "Options".
Within the configuration window, you can select which signature to use and where on the first page of the document you want it to appear.
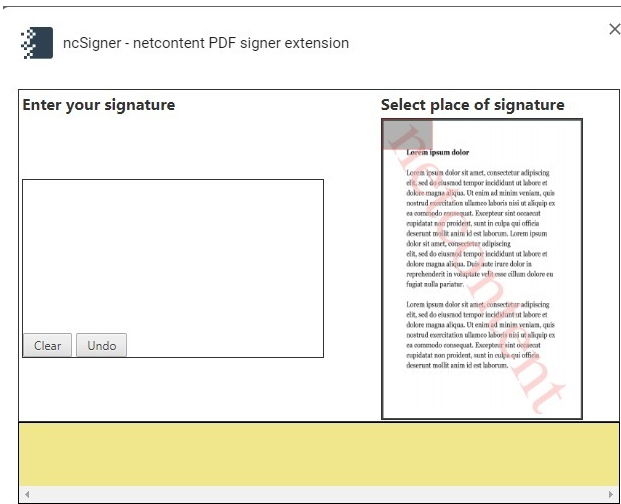
Make a signature and move the gray box over the sample document. The signature and its location can be modified as many times as required.
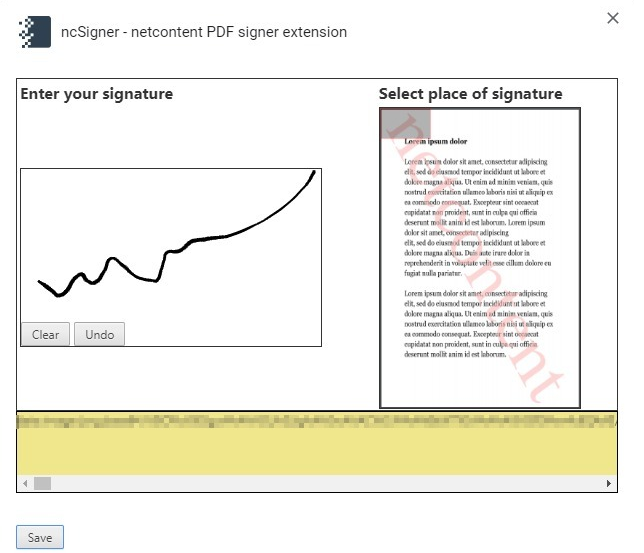
Press "Save" and close the window.
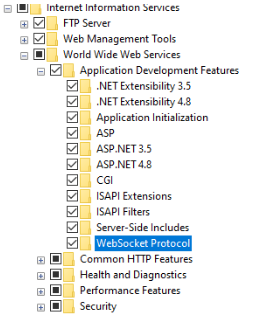
Then enable the plugin options:
For it to work, the IIS plugin “Application Development Features” => “WebSocket Protocol” must be enabled.
Go back to Netcontent and click on the extension icon again:
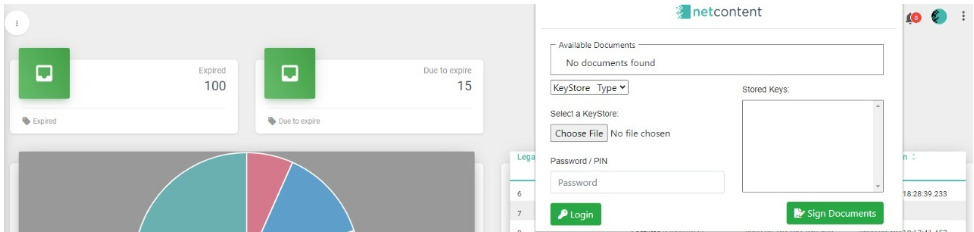
In this instance you can already see the extension working, which, in this example case, indicates that we do not have available files to sign.
Signing of documents
For the extension to detect documents available for signature, you must go to the Files editing screen and have documents attached.
For example, for this File with an attached document, the extension shows the following:
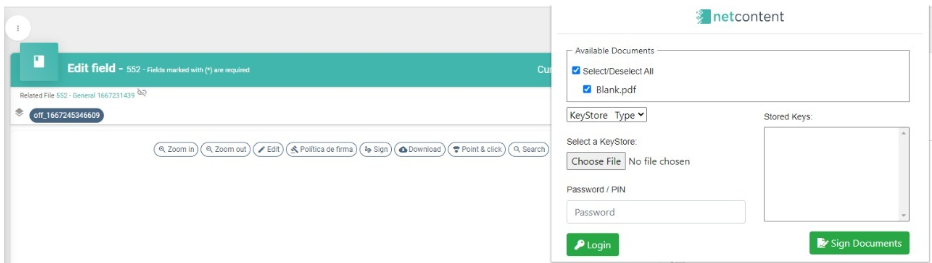
In "Available Documents" you can see the list of files attached to the File, in this case, you only see one. Select "KeyStyore Type".
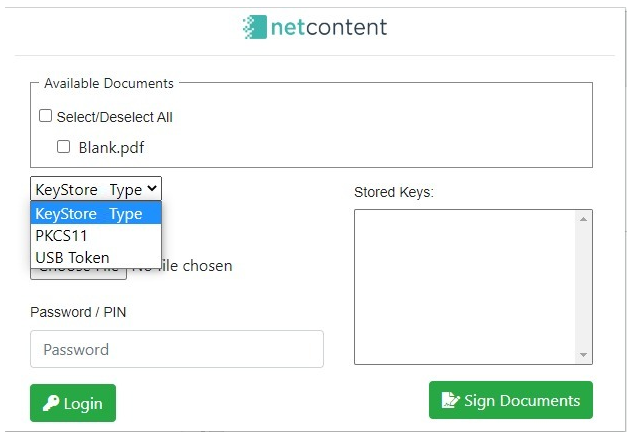
The extension supports two types of signature, PKCS11 to sign with .p 12 certificates and the USB Token type.
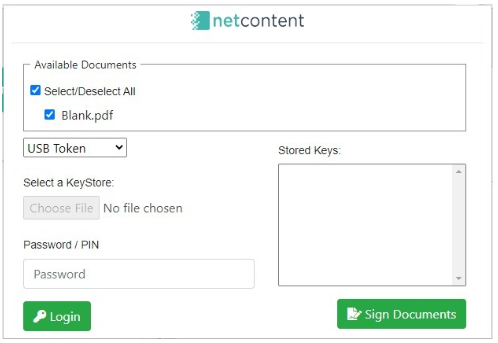
Selecting "USB Token" disables the option to choose a certificate, which is only used for the PKCS11 type. Enter the password for the Token and press the "Login" button.
If this is your first installation, you will see the following message from the extension:

The link allows you to download and run the native Java application, it is installed once and the message is not displayed again.
Run the ncsigner-install.exe file, which guides you through the installation.
Finally, you can repeat the login operation with the Token connected to the USB port.
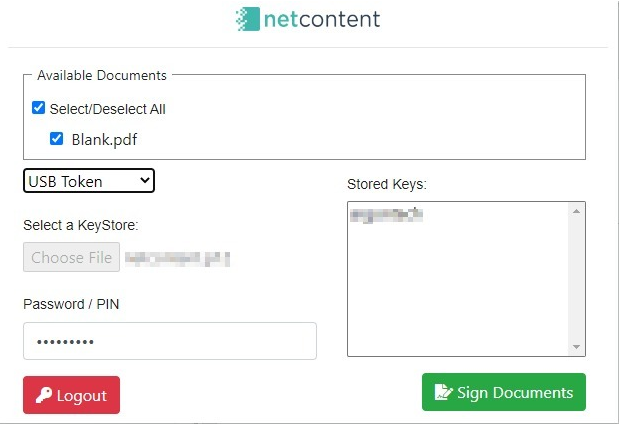
Once logged in, you can see that the button changes from Login to Logout, to log out the Token whenever you want.
Also, you can see in the "Aliases" section a code. When you have a Token, a password and an alias, proceed to select the file you want to sign from the list of available ones and the alias.
Finally, click the "Sign All" button to finish the process.
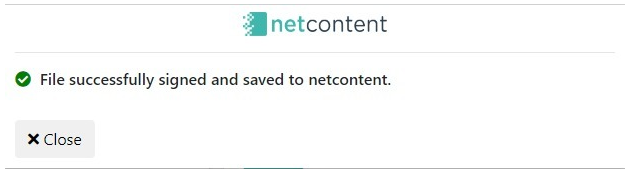
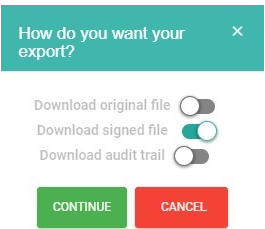
From the Netcontent platform you can download the signed file if necessary.
Created with the Personal Edition of HelpNDoc: Streamline Your Documentation Process with HelpNDoc's Project Analyzer